


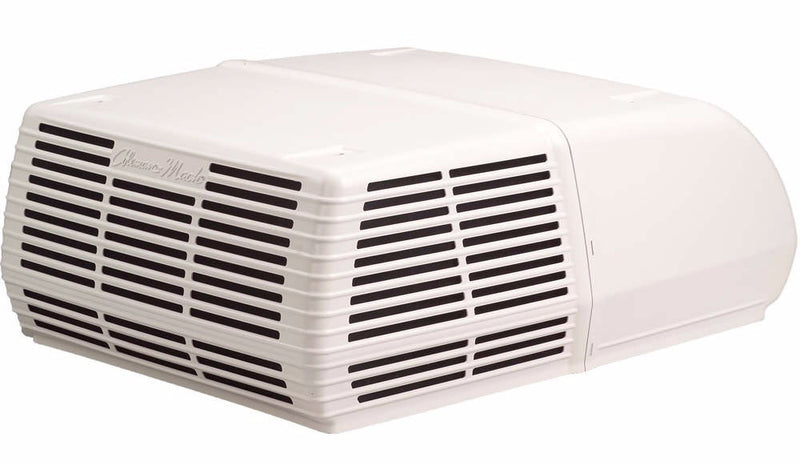
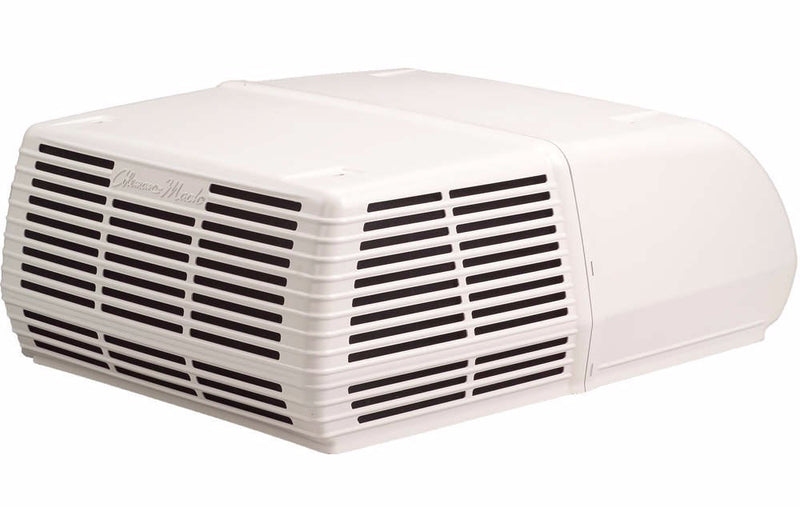
Bluetooth Ceiling Assembly (Non-Ducted) Cool Only - Coleman Mach - 9430-720
$409.99
$279.99
Brand:
Coleman
SKU:
9430-720
Product Description: 9430-720
Cool Only, Bluetooth Ceiling Assembly - White
OMNI-DIRECTIONAL louvers are designed to direct conditioned air downwards into the RV Interior in any direction. When the omni-directional louvers are closed, conditioned air is directed forward and aft through the front and rear air flow dampers.
Features Include:
- 12VCD Power Supply Included
- Air distribution fan can run continuously or cycle off
- Replaces existing 8000 & 9000 series non-ducted ceiling assemblies
- Heat Strip Ready (not available on Cool Only Ceiling Assemblies)
- Operation and Control Knobs are located on the horizontal surface for easy access
- Low-Profile, EURO Styling provides a contemporary look and feel and covers the existing ceiling imprints when replacing earlier ceiling assembly designs
- POP-OUT retainer grilles for easy, tool-free access to the washable air filters
Control your Air Conditioner or Heat Pump WIRELESSLY via BLUETOOTH!
Keep an eye on the conditions inside your RV. The RV Climate app tells you all you need to know with just a swipe of your finger.
- For iOS and Android devices
- iOS 9.0 or later
- Android OS 4.4 or later
- Backlit, easy to read LCD display
- 12 VDC
- Energy Efficient and Affordable
- FCC Certified

PAIRING A NEW THERMOSTAT
- Download the RV Climate app from either the Apple App Store or Google Play.
- Open the app and select ADD NEW THERMOSTAT. [see FIGURE 1]
- On the thermostat, hold the UP and DOWN buttons simultaneously for five seconds to enter PAIRING mode.
- On the app, select PAIR NEW THERMOSTAT.
- When prompted, enter the 6-DIGIT ID from the thermostat and select PAIR.
- Once connected, the thermostat will revert to the main screen.
- Slide/Swipe screen to the left (2nd Screen).
- Press the Settings Icon (
 ).
).
- Select ZONE NAME.
- Assign a name or description to the thermostat (Maximum of 7 characters).
- Select SET to save the assigned name or description.
PAIRING ADDITIONAL THERMOSTATS
- Using the RV Climate app, slide/swipe left.
- Select PAIR NEW THERMOSTAT. [see FIGURE 2]
- On the thermostat, hold the UP and DOWN buttons simultaneously to enter PAIR mode.
- When prompted, enter the 6-DIGIT ID from the thermostat and select PAIR.
- Once connected, the thermostat will revert to the main screen.
- Slide/Swipe screen to the left (2nd Screen).
- Press the Settings Icon ().
- Select ZONE NAME.
- Assign a name or description to the thermostat (Maximum of 7 characters).
- Select SET to save the assigned name or description.
PAIRING A PREVIOUSLY PAIRED THERMOSTAT
- Using the RV Climate app, select PAIR NEW THERMOSTAT.
- On the thermostat, hold the UP and DOWN buttons simultaneously to enter PAIR mode.
- The thermostat previously paired will automatically pair. NOTE: If thermostat does not pair automatically, when prompted, enter the 6-DIGIT ID from the thermostat and select PAIR.
- Once pairing is complete, press the thermostat's MODE button to return to the main screen. [see FIGURE 3]
 SETTINGS DETAIL (2nd Screen)
[see FIGURE 4]
ZONE NAME: Assigns a name or description to the thermostat (MAXIMUM of 7 Characters).
THERMOSTAT ID: Displays thermostat's 6-DIGIT ID
FUNCTIONS: Displays available modes.
SET: Saves assigned zone name/description.
CANCEL: Reverts to main screen.
REMOVE THERMOSTAT: Removes thermostat from the RV Climate app.
CONTROLLING THE THERMOSTAT VIA THE RV CLIMATE APP
- Slide/Swipe screen to the left (2nd screen).
- Tap the icon displaying the current settings [see Figure 5 - Kitchen 75 FAN HIGH].
- Select the desired TEMPERATURE and MODE [see Figure 6]
- Press SET.
 FIGURE 1
 FIGURE 2
 FIGURE 3
NOTE: A maximum of 3 (three) units may be added to an individual phone)
 FIGURE 4
 FIGURE 5

You might also like
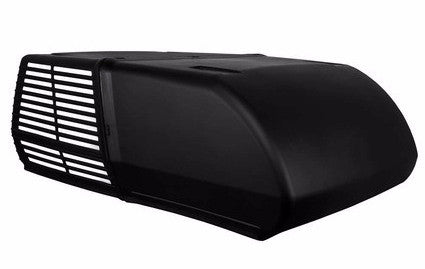
Coleman RV Air Conditioner 15,000 BTU - White - 38204-066 | 48204-066
SKU: 38204-066 $99 Freight
$1,199.99
$772.39
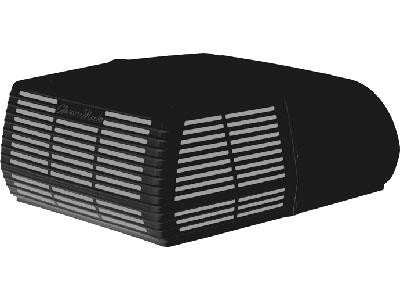
Coleman RV Air Conditioner 15,000 BTU - Black - 48204-069
SKU: 38204-069 $99 Freight
$999.99
$772.39
Coleman RV Air Conditioner 13,500 BTU - White - 48203-066 | 38203-066
SKU: 38203-066 $99 Freight
$899.99
$628.57
Coleman RV Air Conditioner 13,500 BTU - Black - 48203-069 | 38203-069
SKU: 38203-069 $99 Freight
$899.99
$633.59